This guide details the creation of a reversible, big-brimmed sun hat, perfect for travel and sunny days. The hat features a clever tie and toggle design, allowing for adjustable fit and a secure chin strap.
Material Selection and Preparation
The hat utilizes a medium-weight, one-sided fusible interfacing on both brim pieces. For added support, especially with medium to heavyweight fabrics, a sew-in extra heavyweight interfacing is recommended. The brim pattern is available in four sizes, with a medium size used in this demonstration. Polyester drawstring cord (2.7mm diameter) or ribbon can be used for the tie, coupled with round toggles (cord locks) approximately 25.5mm long. The top of the hat uses a six-panel design (12 panels total). The featured example uses cotton-linen blend fabric from Spoonflower.com.
Brim Construction
The construction begins by fusing the interfacing to the back of each brim piece. The optional heavyweight interfacing is sewn onto the solid-color brim piece, trimming any excess. This step ensures a smooth, wrinkle-free edge. The two brim pieces are then pinned right sides together, leaving approximately 8cm open at each end. Sewing commences along the inside curve, following the seam of the heavyweight stabilizer. The back seams are closed by sewing the short ends together, right sides together, using a standard seam width. The outer brim edge is completed by lining up the back seams and sewing over the open, flat raw edges. Clipping or serging the curved edge creates a smooth finish. The seam is rolled out and pinned for a flat, centered edge. Top stitching, either one or two rows, is applied around the brim’s outer edge, starting at a standard seam width. Finally, the inner edge is closed with a stitch close to the edge, and a center front notch is cut, along with side notches.
Top Construction and Assembly
The top panels are cut in pairs, right sides together, with careful attention to print placement. The side seams are sewn, followed by top stitching on either side of the seam. The two-piece panels are then joined to create three-piece panels, repeating the top stitching. These panels are then sewn together to form the top, with top stitching applied along the seam. Center front and back notches are cut.
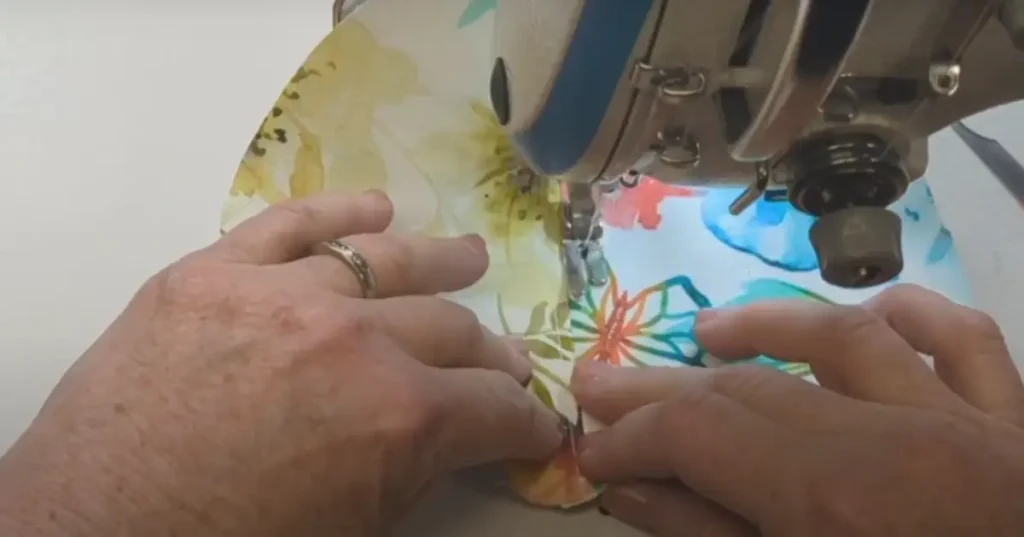
Joining the Brim and Top, and Finishing Touches
The top and brim are joined by matching the center front notches and pinning. The process is repeated for the back, easing in the rest of the top to fit the brim. The cord is attached to the printed side of the brim at the side notches. The reversing side top pieces (solid colors) are assembled similarly. The reversing top is attached to the brim, leaving one panel open for reversing. After turning the hat right side out, the opening is closed with a slip stitch or machine stitch. A final row of top stitching is added around the brim-top seam, avoiding the cord. The toggle is added to the cord, and the cord ends are knotted and tied in a bow, allowing for easy reversal and chin strap functionality.
Summary
This comprehensive guide provides detailed instructions for creating a stylish and functional reversible sun hat. From material selection and preparation to the final touches of the toggle and tie, each step is carefully explained, ensuring a successful outcome. The result is a beautiful, durable hat perfect for any adventure.